
Quick Start >
Welcome to Dynasign LE2 ! This Quick Start Guide aims to provide an overview of the basic setup and publishing steps for your first digital sign.
You can choose one of the two options to setup Publisher:
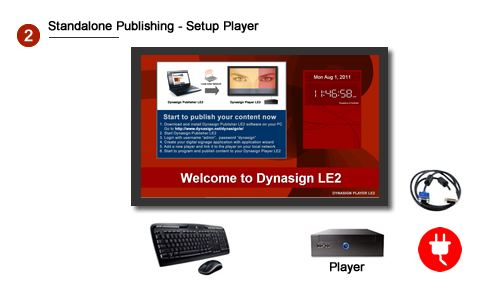
- Standalone Publishing Option (1-to-1): Setup Publisher on the same computer with Player for standalone publishing (no network required)
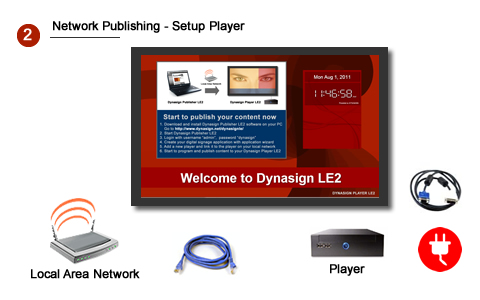
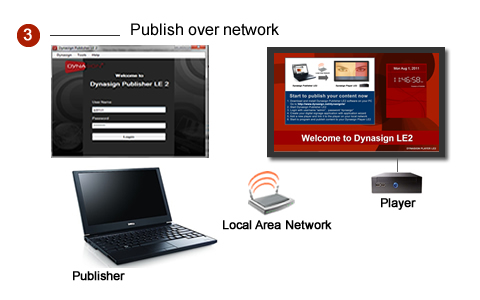
- Network Publishing Option (1-to-1 or 1-to-many): Setup Publisher on another computer for publishing to Players over local network (network required)
|
|
|
|
|
|
|
|
| If you don't have Dynasign LE2 system with preinstalled Player software, please follow the steps in Player Setup Guide to prepare your computer and install Player software before you proceed. | |
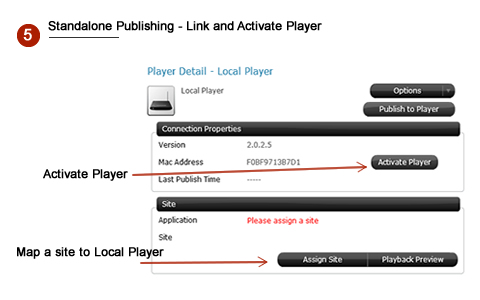
For Standalone Publishing Option:
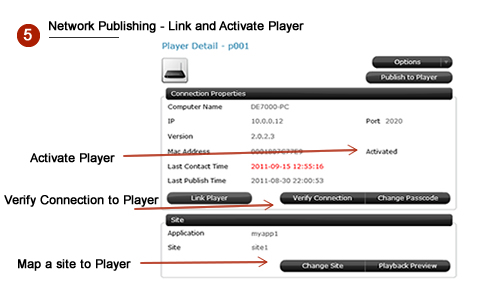
For Network Publishing Option:
|
|
|
|
|
For Standalone Publishing Option:
For Network Publishing Option:
|

|
|
|
|
|
|
|
|
|
For Standalone Publishing Option:
For Network Publishing Option:
|
|
|
|
|
|
|
|
|
|
|
|
 Get Publisher and Player Download Links
 Setup Player
  Setup Publisher
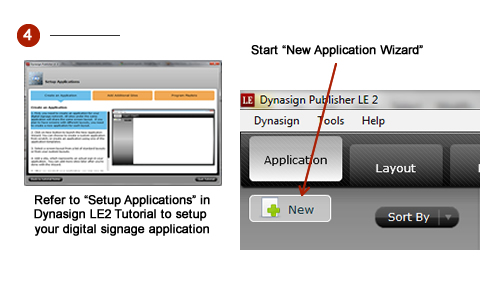
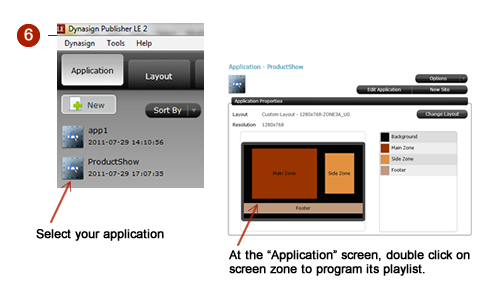
  Setup Digital Signage Application
  Link and Activate Player
  Program Content
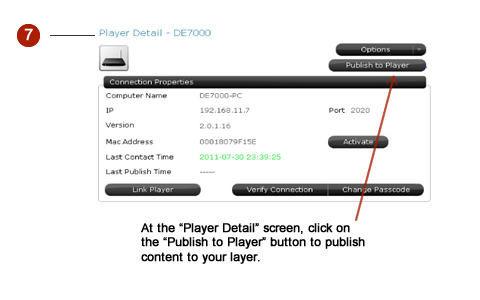
  Publish to Player